Configuring Chains
Frame comes preloaded with popular chains and testnets but offers the option to add any EVM chain that you want!
To customize these networks after you add them to your wallet, we have included a configuration panel for you to access.
Open your Frame Wallet and click on the top-left icon to open the Settings Panel.
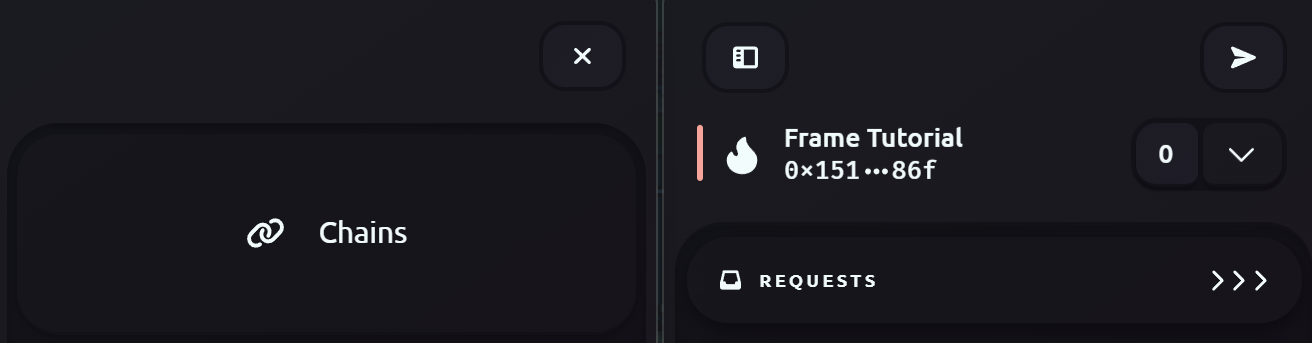
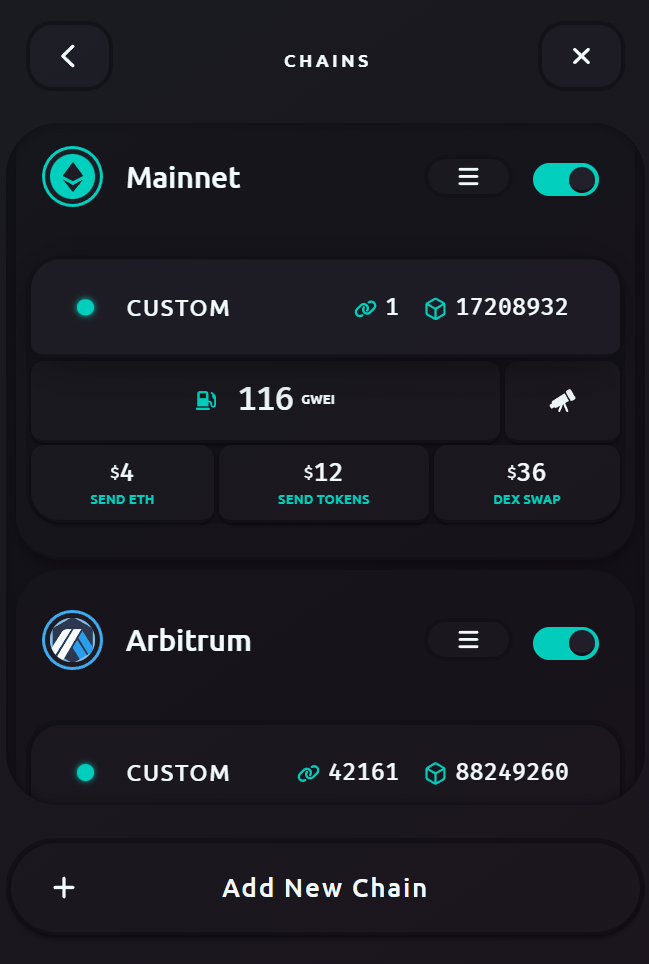
Click the "Chains" button to access the following display. Here we can see that Ethereum Mainnet and Arbitrum are two different chains that Frame is connected to.
Adding New Chains
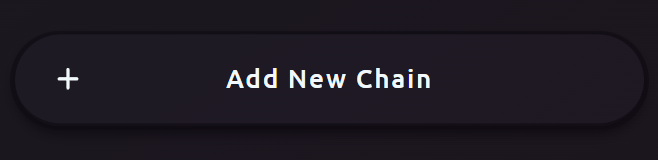
Integrating new chains is as simple as clicking the "Add New Chain" button located at the bottom of this display.
You can either add information directly from a network's documentation or you can use websites like Chainlist to add network configurations to your wallet for you.
Visit https://chainlist.org and Frame will ask you to approve access to your account.
Click on any network's "Add to Wallet" button (we have chosen Polygon Mainnet for this example) and you will see the following display appear.
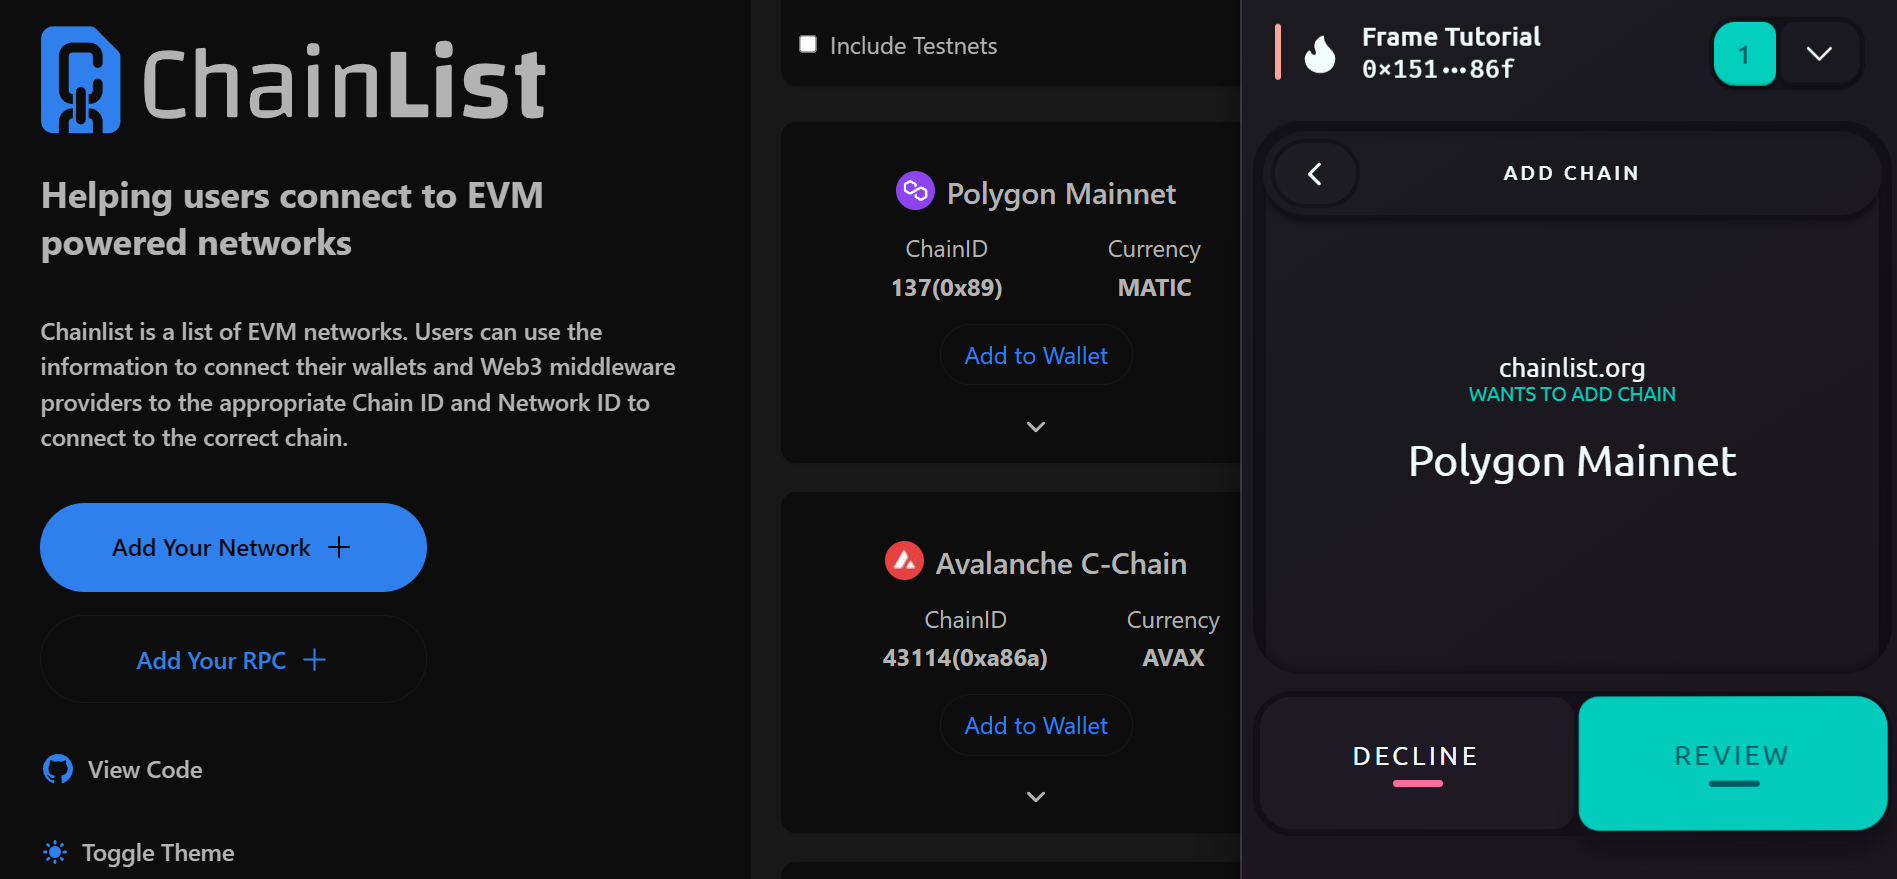
Click on "Review" to open up your configuration panel. You can now input your own information for this network.
Customizing each Chain
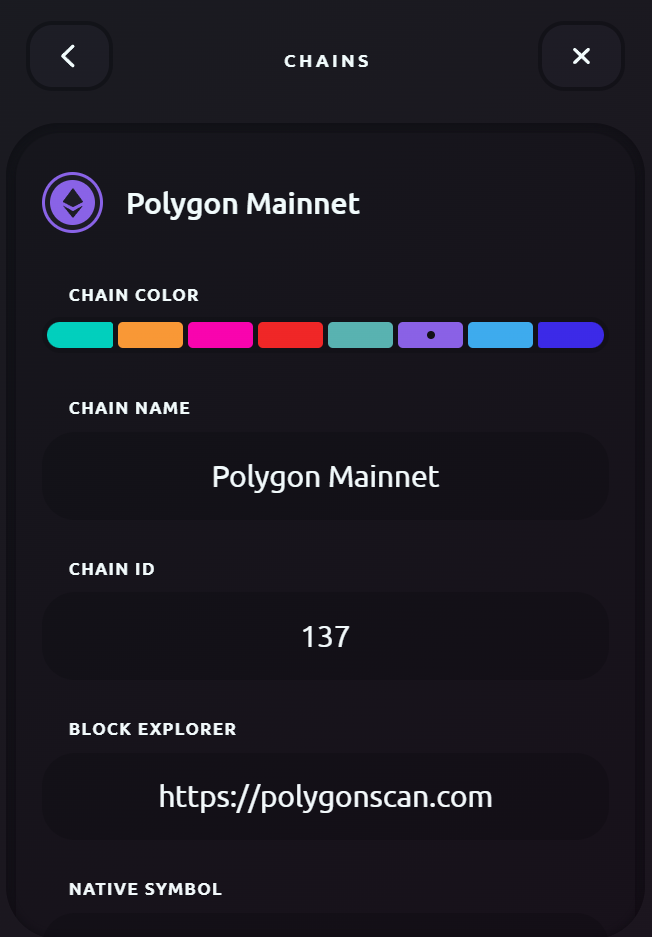
The necessary information for using this network will automatically be added. This includes:
- Chain Name and ID
- Block Explorer
- Native Symbol and Currency Name
- Primary RPC
With these added, you can then customize each additional detail according to your choosing. This includes:
- Custom RPCs
- Chain Icons
- Currency Icons
- Chain Colors
To add the Polygon icon, we used Coingecko - Polygon Token and copied the image address.
![]()
Once you have finished editing these details, confirm you want to add the chain and Frame will integrate this network.
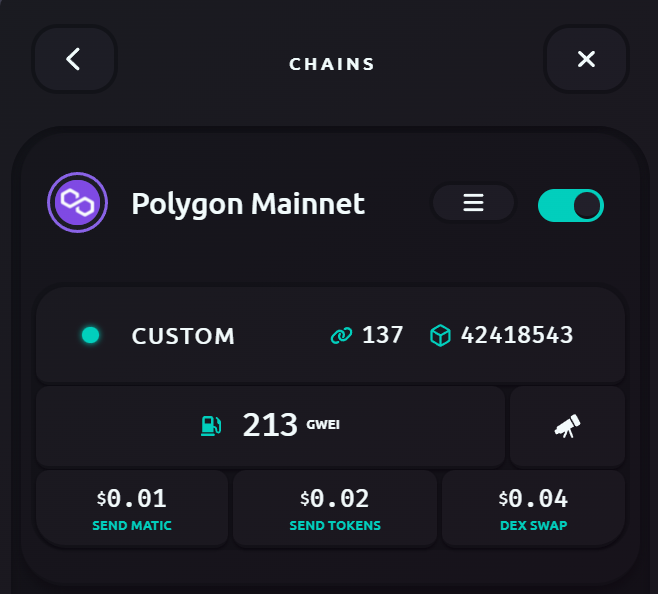
To make any further edits, click on the three-striped icon for each chain.